For working professionals
For fresh graduates
- Study abroad
More
- Executive Doctor of Business Administration from SSBM
- Doctorate in Business Administration by Edgewood College
- Doctorate of Business Administration (DBA) from ESGCI, Paris
- Doctor of Business Administration From Golden Gate University
- Doctor of Business Administration from Rushford Business School, Switzerland
- Post Graduate Certificate in Data Science & AI (Executive)
- Gen AI Foundations Certificate Program from Microsoft
- Gen AI Mastery Certificate for Data Analysis
- Gen AI Mastery Certificate for Software Development
- Gen AI Mastery Certificate for Managerial Excellence
- Gen AI Mastery Certificate for Content Creation
- Post Graduate Certificate in Product Management from Duke CE
- Human Resource Analytics Course from IIM-K
- Directorship & Board Advisory Certification
- Gen AI Foundations Certificate Program from Microsoft
- CSM® Certification Training
- CSPO® Certification Training
- PMP® Certification Training
- SAFe® 6.0 Product Owner Product Manager (POPM) Certification
- Post Graduate Certificate in Product Management from Duke CE
- Professional Certificate Program in Cloud Computing and DevOps
- Python Programming Course
- Executive Post Graduate Programme in Software Dev. - Full Stack
- AWS Solutions Architect Training
- AWS Cloud Practitioner Essentials
- AWS Technical Essentials
- The U & AI GenAI Certificate Program from Microsoft
5. Array in C
13. Boolean in C
18. Operators in C
33. Comments in C
38. Constants in C
41. Data Types in C
49. Double In C
58. For Loop in C
60. Functions in C
70. Identifiers in C
81. Linked list in C
83. Macros in C
86. Nested Loop in C
97. Pseudo-Code In C
100. Recursion in C
103. Square Root in C
104. Stack in C
106. Static function in C
107. Stdio.h in C
108. Storage Classes in C
109. strcat() in C
110. Strcmp in C
111. Strcpy in C
114. String Length in C
115. String Pointer in C
116. strlen() in C
117. Structures in C
119. Switch Case in C
120. C Ternary Operator
121. Tokens in C
125. Type Casting in C
126. Types of Error in C
127. Unary Operator in C
128. Use of C Language
How To Install C Language In Mac
Introduction
C is one of the most popular and influential programming languages, known for its robust features, efficiency, and simplicity. It is also commonly known as the ‘middle-level language’ since it combines high-level features with low-level functionality.
As a newbie developer, are you wondering how to install C language in Mac? Then you have arrived at the right place! Here is a step-by-step guide highlighting every detail you need to know to install C language on Mac.
Code Editor
Simply put, a code editor is a specific software application designed to help developers write, edit and manage the source code for various programming languages, such as C. It comes alongside innumerable tools and features and tools such as code completion, debugging capabilities, and more.
The Pre-installed Code Editor in MacOS
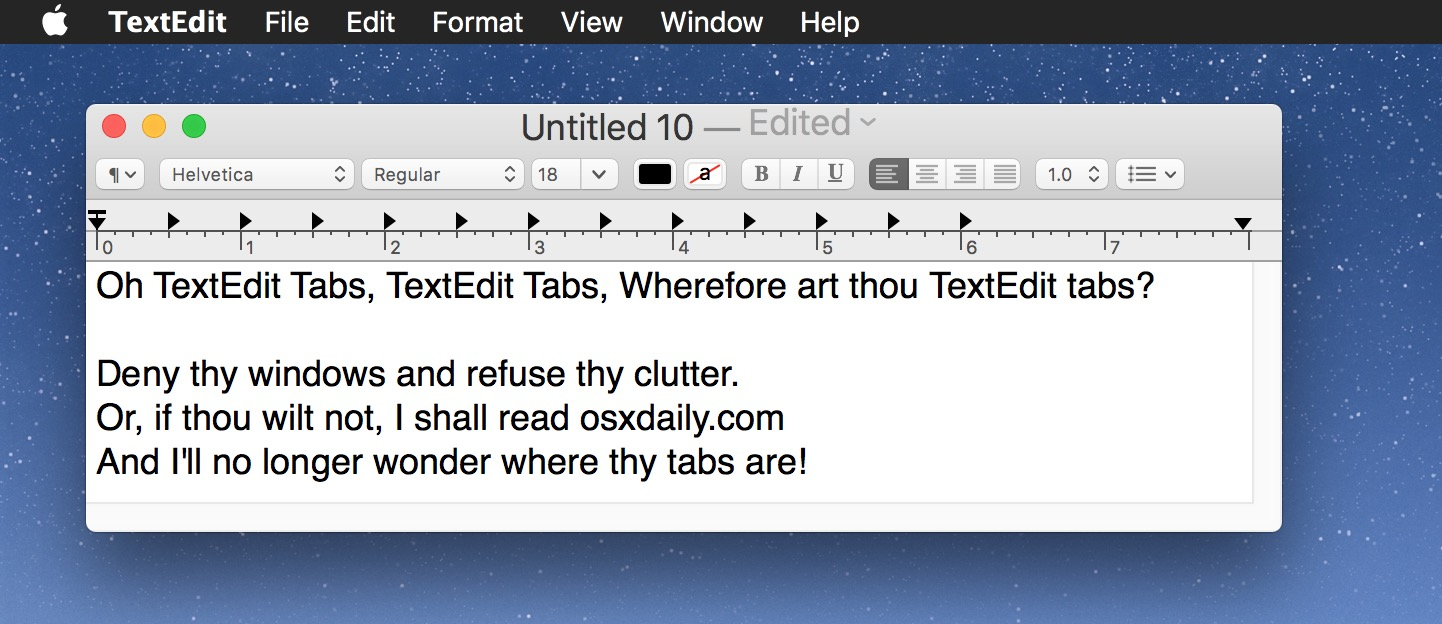
The pre-installed code editor in MacOS is called ‘TextEdit.’ However, please note that this is primarily a text editor instead of a specialised code editor. This means that although you can use ‘TextEdit’ for managing or editing code, it is not equipped with advanced features like syntax highlighting or integrated debugging.
Overall, ‘TextEdit’ is a simple and easy-to-use application that is already built-in MacOS and can be utilised to manage various file formats. If you are facing difficulties accessing the same, follow the below-mentioned steps.
- Click on the Applications Folder
- Go to the Utilities folder
- Search for the TextEdit application
- Once located, double-click on it to launch the application
After you have successfully launched the application, create a new document with a name of your choosing, and start writing and editing code with ease.
When you are saving any file, you have to enter the right extension for the programming language that you are working with. So for C, it will be the ‘.c’ extension.
C compiler
In layman’s terms, a C compiler is specifically used to translate the source code, which is written in the C programming language, to machine-readable code. This is because computers cannot process or execute any code written in the C programming language. It needs the help of a C compiler that will effectively convert it into machine code, following which it will generate an executable file.
Once you have successfully created and saved a document in ‘TextEdit, it is now time for you to convert it into an executable file. Using the C compiler to transform the ‘.c’ extension file into a ‘.exe’ file that can be run. For this, you need the required commanding line tools.
Installing the Command Line Tools
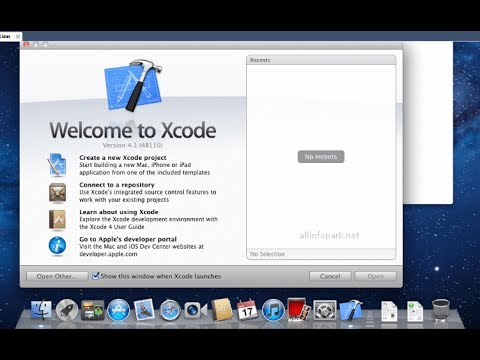
Xcode is an integrated development environment for MacOS that includes all the necessary command line tools.
To install it on your Mac, follow these steps,
- Go to the app store and type ‘Xcode’ in the search bar.
- You will find either the ‘Get’ or ‘Install’ options. Click on that to install Xcode.
- Once installed, open Xcode and go to Preferences>Location. Here you can select any version of command line tools according to your preference.
Installing Visual Studio Code
As stated earlier, ‘TextEdit’ is primarily a text editor, which means that its functionalities are somewhat limited when it comes to editing or managing source code. If you are exploring options that will facilitate more extensive coding and development, then Visual Studio Code is the one to go for.
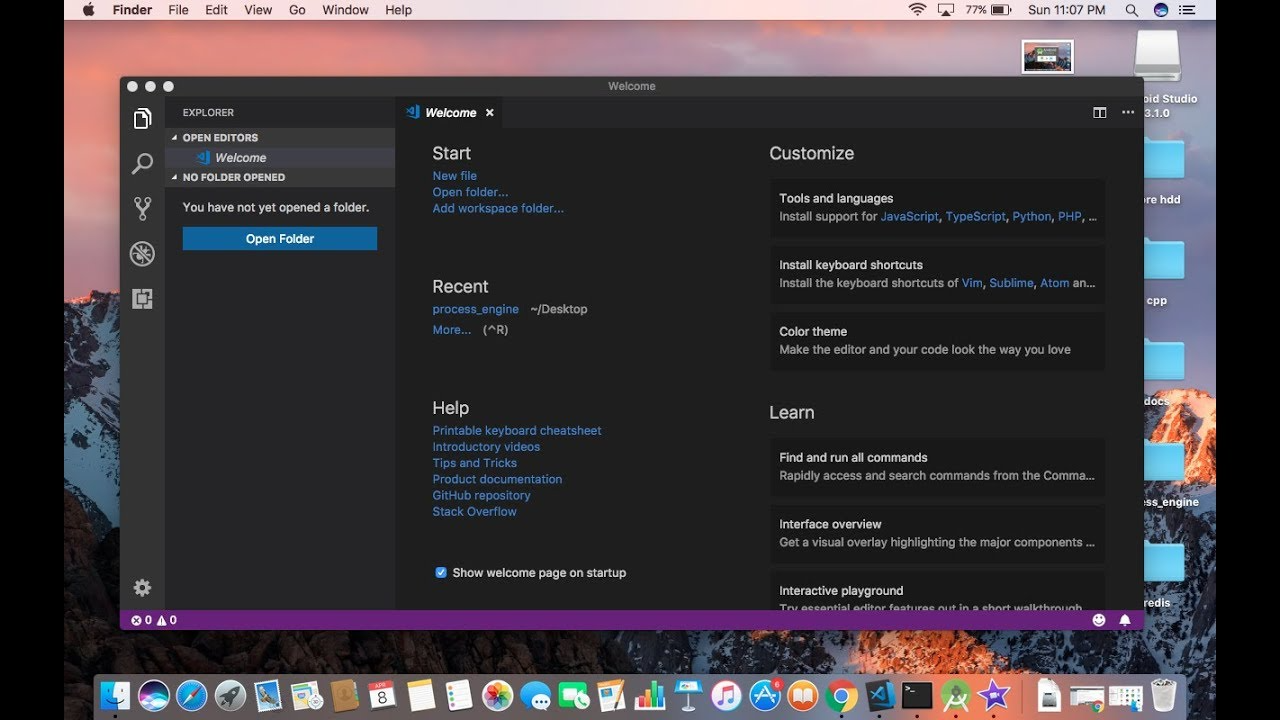
Visual Studio Code, commonly known as VS Code, is an open-source platform developed by Microsoft. It is widely used for various programming languages, like C and Python, among others. It is fast, lightweight, and has a user-friendly interface. All of these combined are one of the main reasons why VS Code is in huge demand among developers.
To install VS Code in your MAC, you need to follow a few simple steps. Those are,
- Visit the official website of VS Code.
- Click on ‘Download for Mac.’
- The downloading will start automatically; once it has been completed, go to the downloaded file. It will usually be present under the name ‘VSCode-darwin-stable.zip.’
- A new window will open automatically, displaying the VS Code application. Drag and drop the icon into the ‘Applications’ folder, from where you can install it easily.
- Once the application has been installed properly, you can spot it in the ‘Application’ folder on your Mac.
- Double-click on it to launch the application.
You can now create a new file and save the same in any programming language. However, please note that to enable writing codes specifically in C programming language, you need to download the C/C++ extension.
C/C++ for Visual Studio Code extension
The C/C++ for Visual Studio Code extension is required, especially when you wish to enhance the VS Code’s capabilities for C and C++ development. It provides robust features and tools such as code navigation and debugging support, among others. All these help to manage and write code with the editor much easier. Furthermore, the C/C++ extension is also highly configurable, meaning that you can customise its behaviour and settings as and when required.
In order to install the C/C++ extension on your Mac, follow these steps.
- After installing, open the Visual Studio Code application.
- Go to the extension section, which is situated in the left sidebar.
- Search for C/C++ extension.
- Once located, click on the ‘install’ button.
- Once the extension has been installed, close the Extensions View.
Create a C program using Visual Studio Code.
Now that you know to install VS Code and C/C++ extension on your device, let’s find out how to write a C program using the same.
Firstly, create a new folder wherein you will save your C program files. It can be anywhere on your respective device. Following this, go to the ‘Open Folder’option available in the ‘File’ menu section of the VS Code application. You can also simply drag the folder into the VS Code window. Either way, now you have to generate a new one. For the same, you can find the option of ‘new File’ in the application. Click on that, and save the file using a meaningful name. However, please note that whatever name you choose, the ‘.c’ extension must be present. For example, ‘main.c’.
In the new file that you have created, start writing any C program code. Here we have used a very simple one.
#include <stdio.h> |
After writing the code, save the file carefully. In order to run the program, go to the ‘View’ section present in the VS Code application, where you will be presented with the ‘Terminal’ option. Once you have located it, use the ‘cd’ command to navigate the folder where your C program file is situated.
After you have entered the right folder, use the ‘gcc’ command to compile the C program. It will look somewhat like this,
gcc main.c -o main |
Once the program has been compiled successfully, use the following command to run the program,
./main |
You can now view the desired result in the terminal.
Conclusion
Installing all the components of the C programming language is quite easy, provided you follow all the steps accurately. Hopefully, this article will help you understand all the nuances of how to install a C compiler, command line tools, and VS Code on your Mac device. The C programming language is one of the most widely used languages in the world of technology. It is not only easily understandable but also offers various exclusive features that set it apart from other programming languages.
On that note, we recommend checking out Full Stack Software Development Bootcamp, brought to you by upGrad. From exciting salary opportunities to 16+ hours of group career coaching, the list of benefits that it provides to all its candidates goes on and on!
FAQs
1: What is the name of the software used for C programming on Mac?
Xcode is one of the most widely used software used for C programming, specifically in Mac. It is typically an integrated development environment developed by Apple for MacOS.
2: Does Mac support C?
C is a highly popular programming language that can be written on any platform, including Mac. Mac computers provide a pre-installed C compiler called Clang which supports the C language.
3: Can I download XCode for free?
Yes, Xcode is a free platform that can be used for iOS development. Furthermore, it is also extremely simple to use, meaning that even newbie developers can operate this platform in a hassle-free manner.
-9cd0a42cab014b9e8d6d4c4ba3f27ab1.webp&w=3840&q=75)
Take a Free C Programming Quiz
Answer quick questions and assess your C programming knowledge


Author|900 articles published


upGrad Learner Support
Talk to our experts. We are available 7 days a week, 9 AM to 12 AM (midnight)
Indian Nationals
1800 210 2020
Foreign Nationals
+918068792934
Disclaimer
1.The above statistics depend on various factors and individual results may vary. Past performance is no guarantee of future results.
2.The student assumes full responsibility for all expenses associated with visas, travel, & related costs. upGrad does not provide any a.


